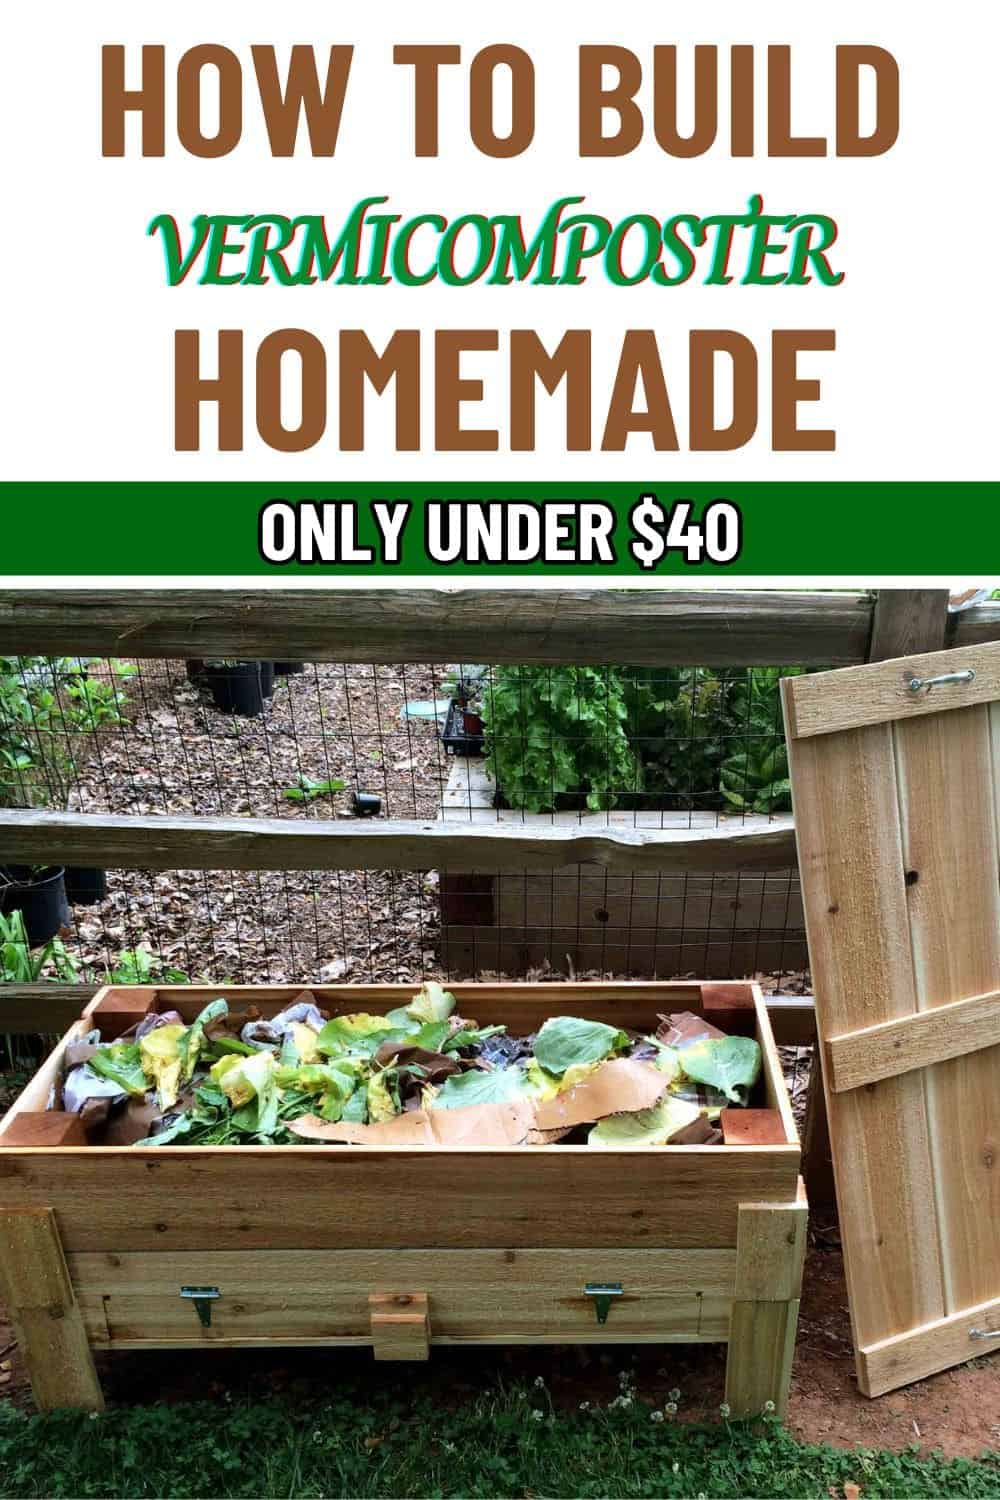
If you’re interested in reducing kitchen waste and creating rich, organic compost for your plants, then a homemade vermicomposter is a perfect project to try.
Vermicomposting, which uses worms to break down organic material, turns food scraps into nutrient-packed compost, and it’s surprisingly easy to set up.
I’ve been vermicomposting at home for a while, and it’s rewarding to see how a simple bin full of worms can create such valuable “black gold” for my garden.
Materials Needed for a Homemade Vermicomposter
You’ll need to prepare:
- Container: You can use a plastic storage bin, a wooden crate, or any sturdy container. Choose a container that’s at least 12-18 inches deep and has a lid.
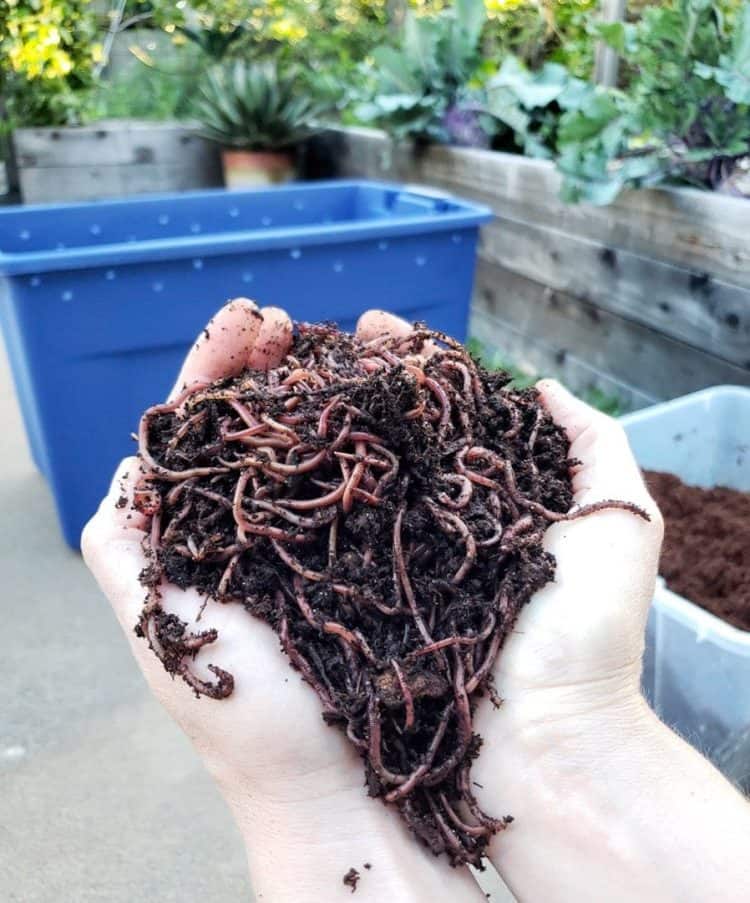
- Worms: For vermicomposting, red wigglers (Eisenia fetida) are the best choice as they thrive in composting conditions, unlike garden earthworms.
- Bedding Materials: Worms need bedding to live in, such as shredded newspaper, coconut coir, or cardboard.
- Additional Supplies: a spray bottle, a drill, food scraps like vegetable peels, coffee grounds, and eggshells.
Step-by-Step Guide to Building Your Vermicomposter
Step 1: Choose and Prepare the Container
First, grab your container and lid. You’ll want to add several small holes in the sides and lid to allow for airflow, which prevents odor and keeps the worms healthy.
I used a drill with a 1/8-inch bit to add about a dozen holes along the upper edges and lid.
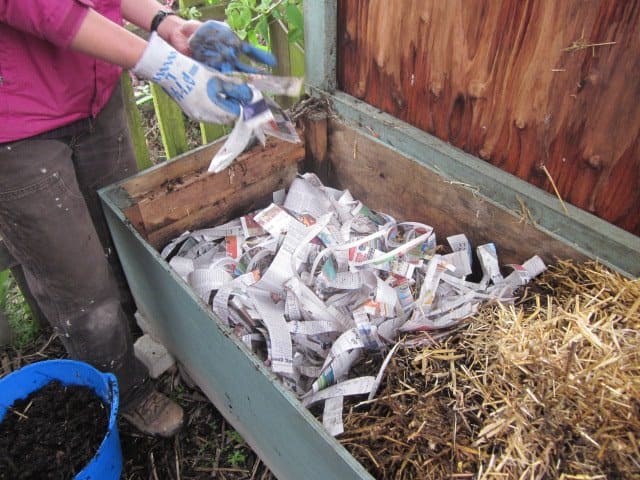
Step 2: Add Bedding
Next, let’s add bedding for the worms to nest in. Fill the container about one-third full with shredded newspaper, cardboard, or coconut coir.
You can spray it with water to get the right consistency, then fluff it up a bit to give the worms space to move around.
Tip: If you use newspaper, avoid glossy or colored sections, as these may contain inks that aren’t worm-friendly.
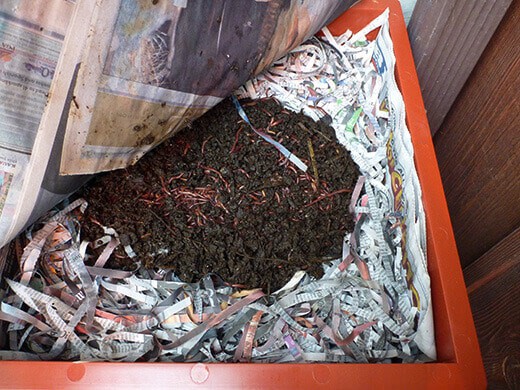
Step 3: Introduce the Worms
Now, gently place your red wigglers on top of the bedding, and they’ll start burrowing down naturally to escape the light.
Step 4: Start Adding Food Scraps
After the worms have settled, you start with a small amount of food, like fruit and vegetable scraps, coffee grounds, or eggshells. Bury the scraps under the bedding to prevent odors and discourage fruit flies.
You should avoid foods that can attract pests or upset the worms’ environment, such as citrus fruits, meat and dairy products, oily or salty foods, large amounts of bread or grains.
Step 5: Maintain the Vermicomposter
Here’s what to keep an eye on:
- Moisture Levels: The bedding should always feel like a wrung-out sponge. If it’s too dry, the worms will struggle, and if it’s too wet, it can get smelly.
- Temperature: Red wigglers thrive in temperatures between 55-77°F (13-25°C). Extreme temperatures can harm them, so keep the bin indoors or in a shaded area if you live in a hot climate.
- Feeding Schedule: Worms are efficient eaters, but they only need food every 3-5 days. I usually check the bin once a week and add more scraps only if the previous batch is mostly decomposed.
- Occasional Turning: Every couple of weeks, I like to lightly turn the bedding with a small garden fork to aerate it.
Troubleshooting Common Vermicomposting Issues
While vermicomposting is low-maintenance, a few common issues may arise.
- Foul Odors: If you notice strong odors, it’s likely due to overfeeding or poor ventilation. Try removing some food scraps, adding dry bedding, or adjusting the ventilation holes.
- Worms Escaping: If you find worms trying to escape, check the moisture, temperature, and food levels, as worms will seek new conditions if their environment isn’t right.
- Pests and Fruit Flies: To prevent fruit flies, always bury food scraps under bedding, and avoid adding overly wet foods.